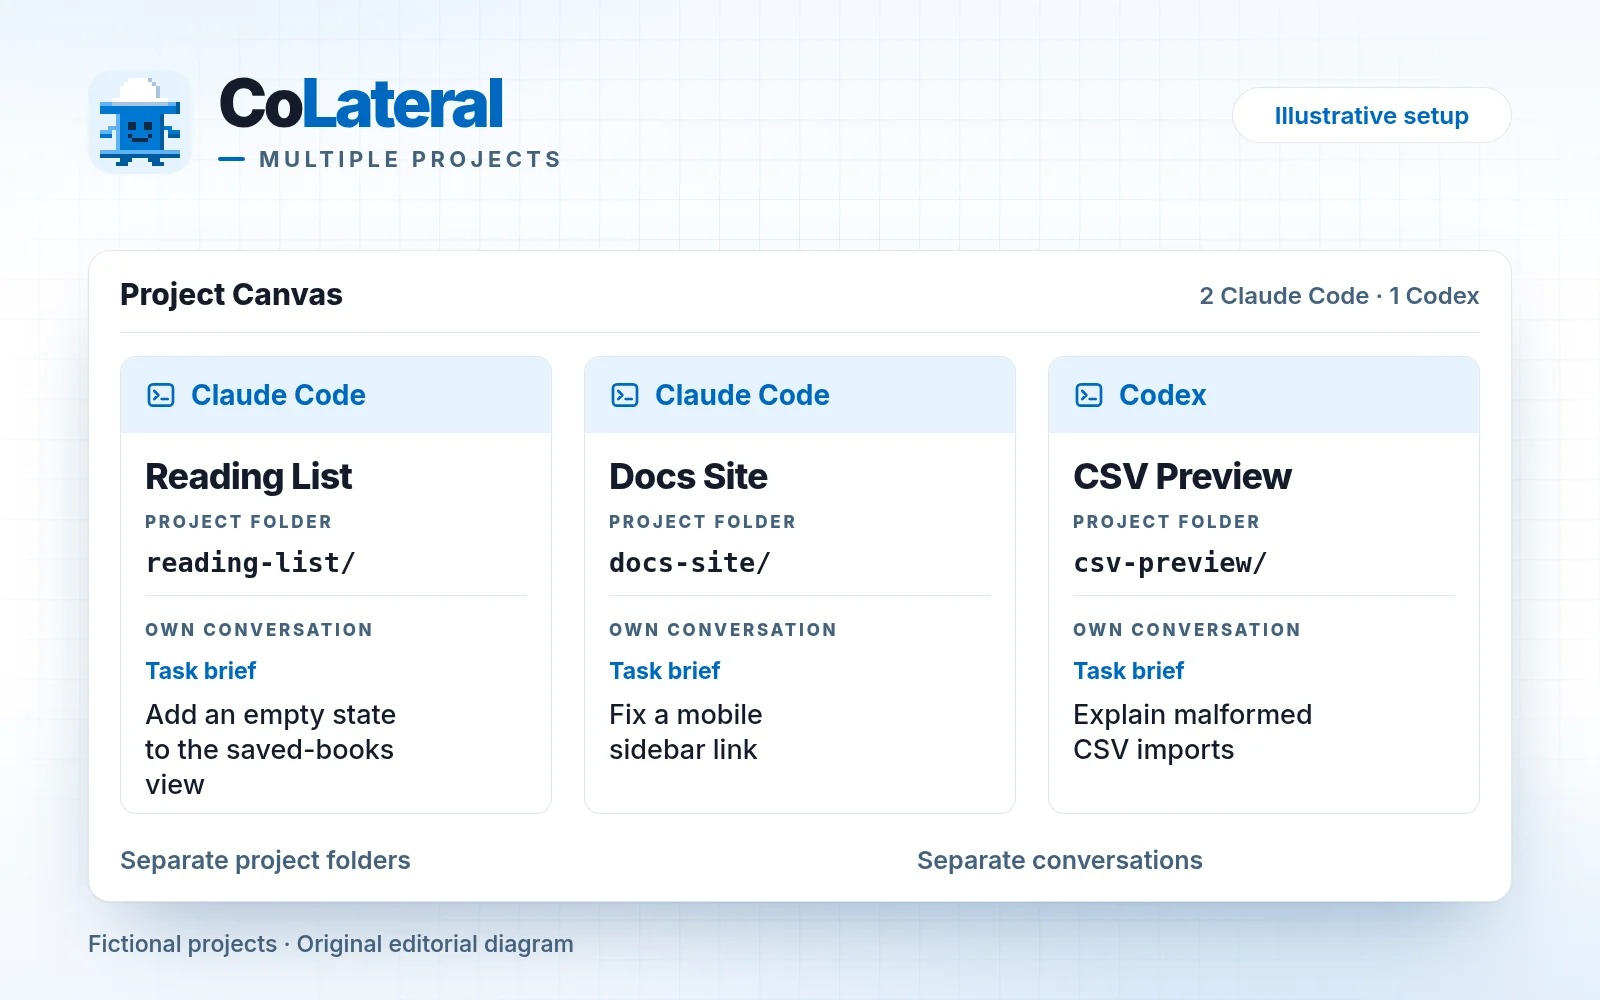
This gives you one place to find the work, decide what needs attention, and pick up the next task.
Key takeaways
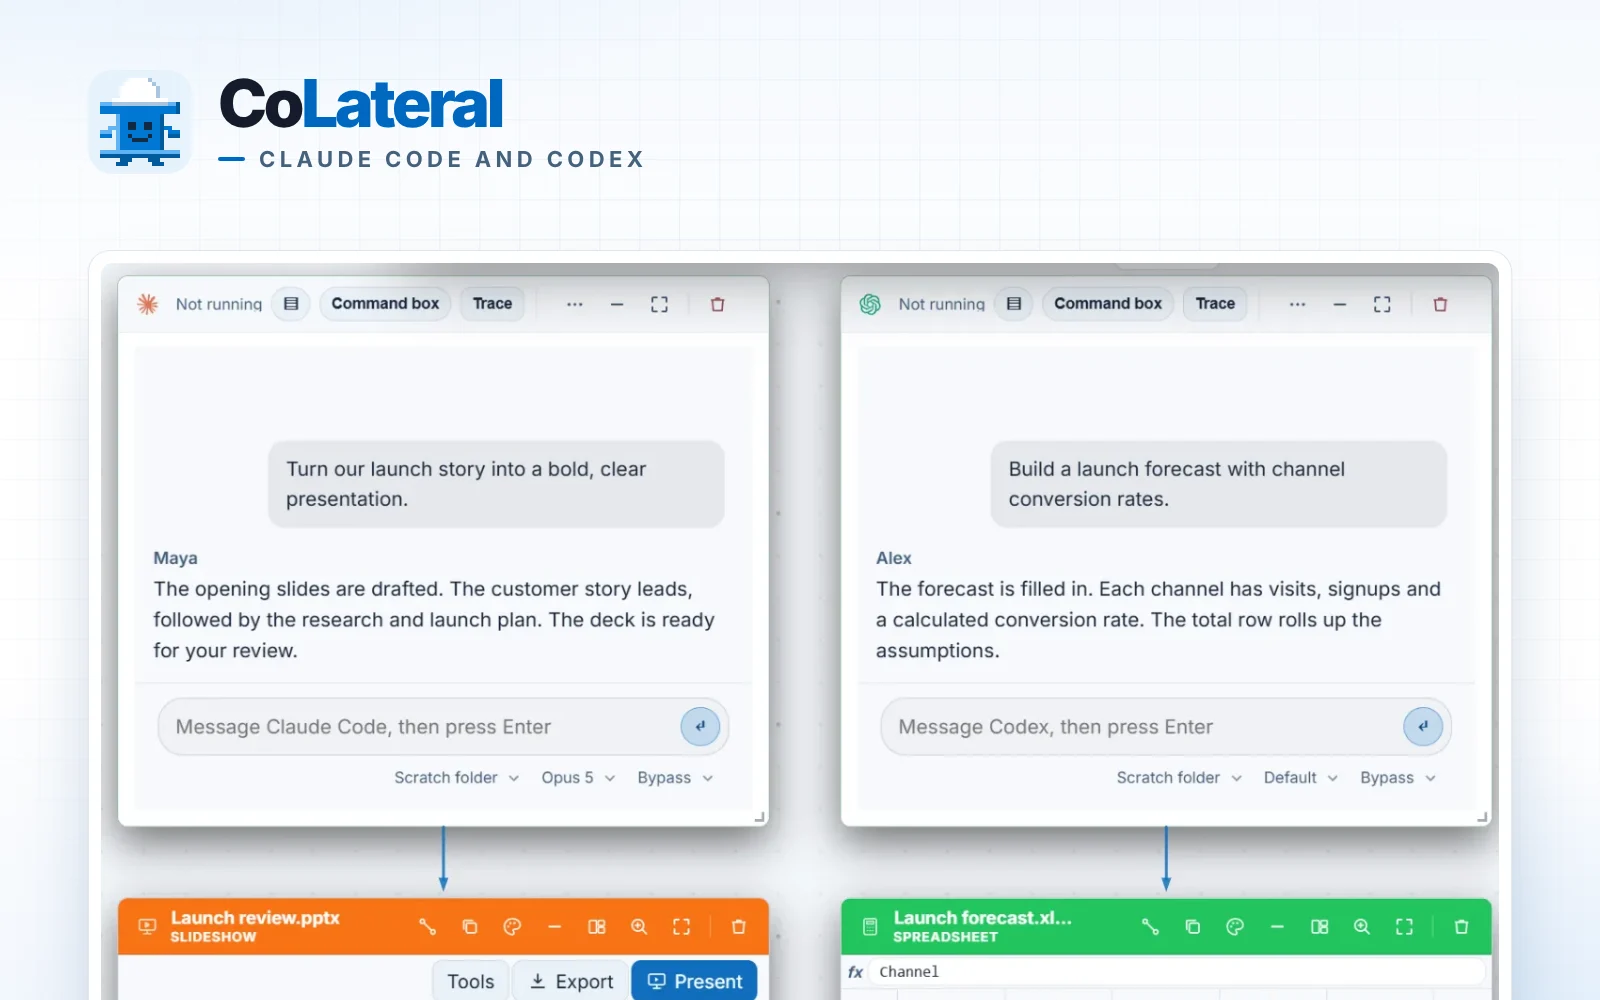
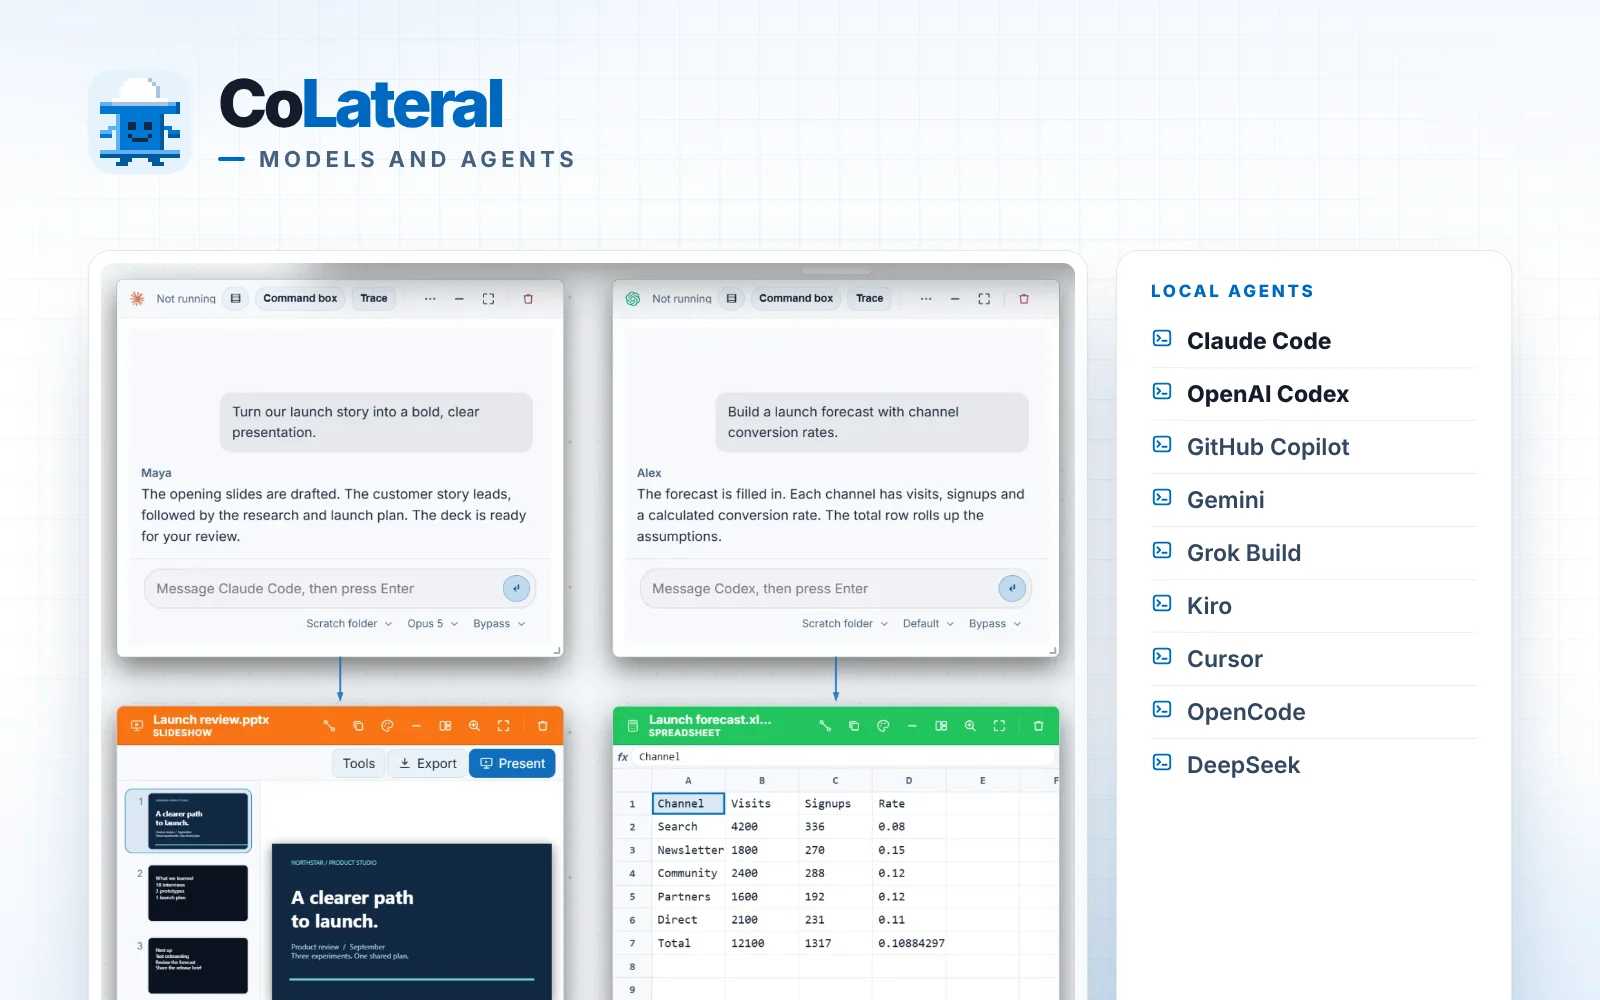
- CoLateral can keep two Claude Code cards and one Codex card on the same Project Canvas, with a separate conversation and folder choice for each.
- A useful three-project setup gives each card one clear task and keeps the next action visible beside the conversation.
- Separate folders help organize work. They do not, by themselves, prevent an agent from accessing other files.
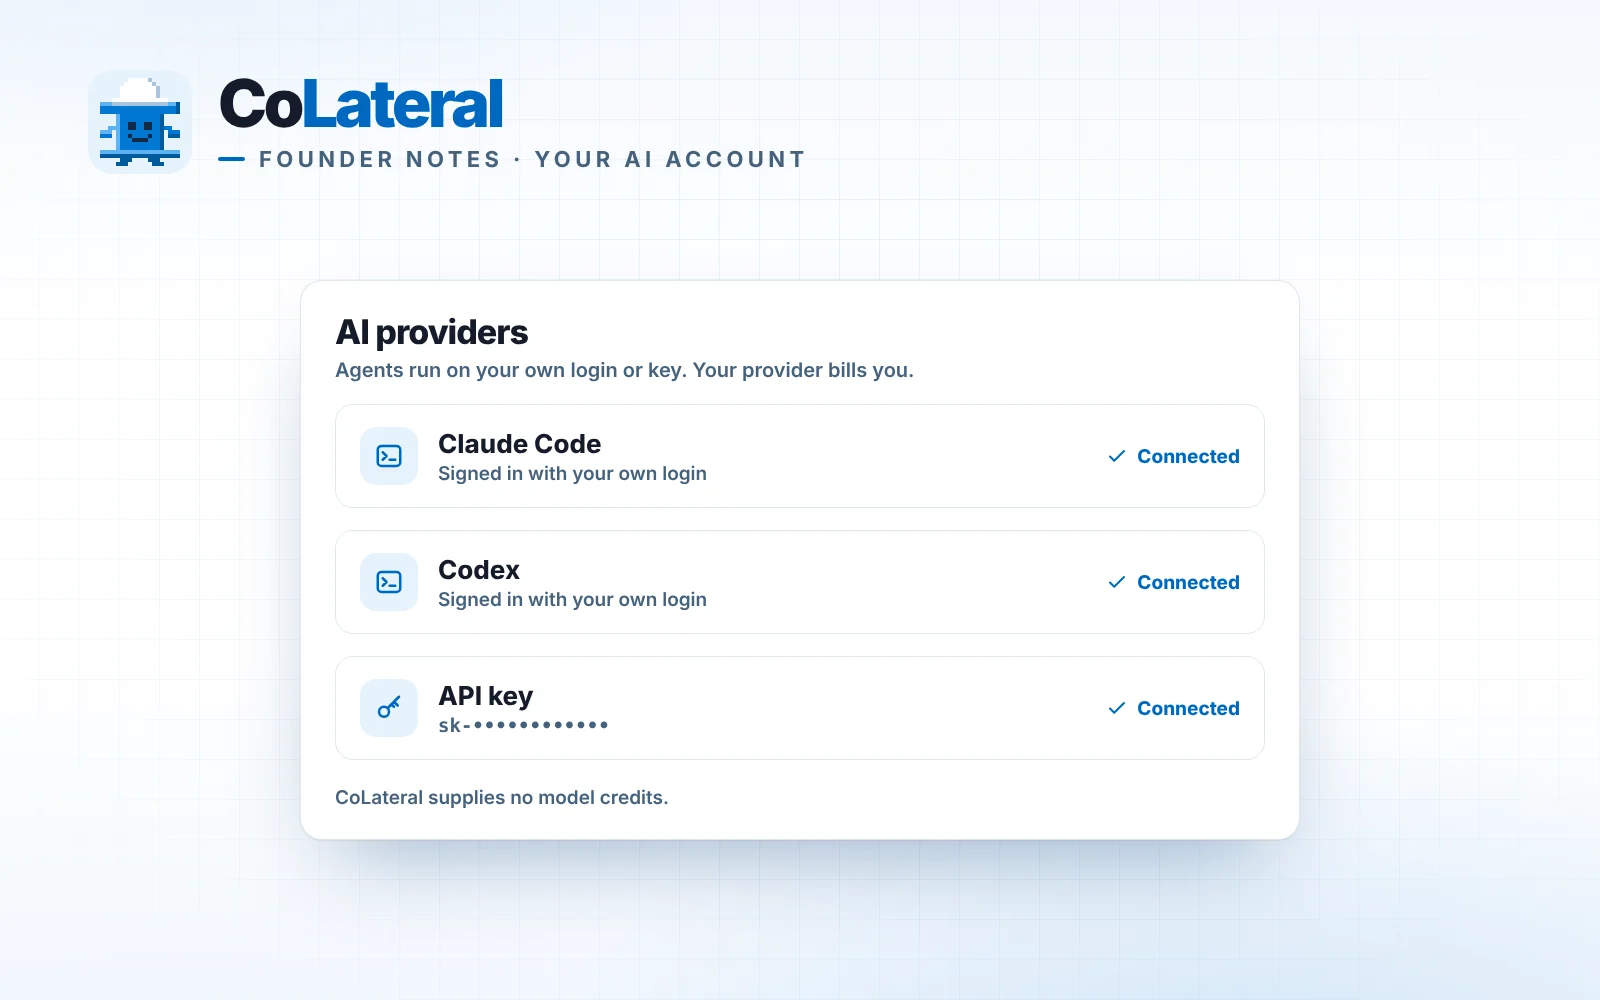
- CoLateral uses your own provider accounts, supplies no model credits, and remains subject to provider limits and your computer's resources.
If you already use Claude Code and Codex in your IDE, the hard part may be the work around the prompt: remembering which conversation belongs to which repository, what you last asked, and whether the next step is another instruction or your own review.
Here is a practical layout for three independent projects. The projects, folder names, tasks and example notes below are invented. The steps were checked against source for version 1.0.68, listed on the download page, and current development source. This is an illustrative workflow, not a live three-agent test; controls may vary by installed version.
The problem: finding the right place to continue
Imagine a reading app, a documentation site and a small CSV utility. You have asked Claude Code to work on the first two and Codex to work on the third.
Each task is manageable. Switching among them creates the friction. A terminal tab tells you which tool is open, but you still have to check its folder, find the latest instruction and work out what needs your attention. A conversation can be easy to recognize while its working copy is less obvious.
The useful change is to give every project a consistent place. The agent, conversation and folder choice stay together in a card. A short note beside it records what you intend to do next.
Set up three projects on one canvas
Open the Project Canvas and create a canvas project called Three-project desk. Use it as an overview for three separate Git repositories. In the project menu, choose New project, enter the name and choose Create project.
| Project | Source folder | Agent | One task to start with |
|---|---|---|---|
| Reading List | reading-list | Claude Code | Add an empty state to the saved-books view. |
| Docs Site | docs-site | Claude Code | Fix a mobile sidebar link. |
| CSV Preview | csv-preview | Codex | Explain malformed CSV imports with a useful error. |
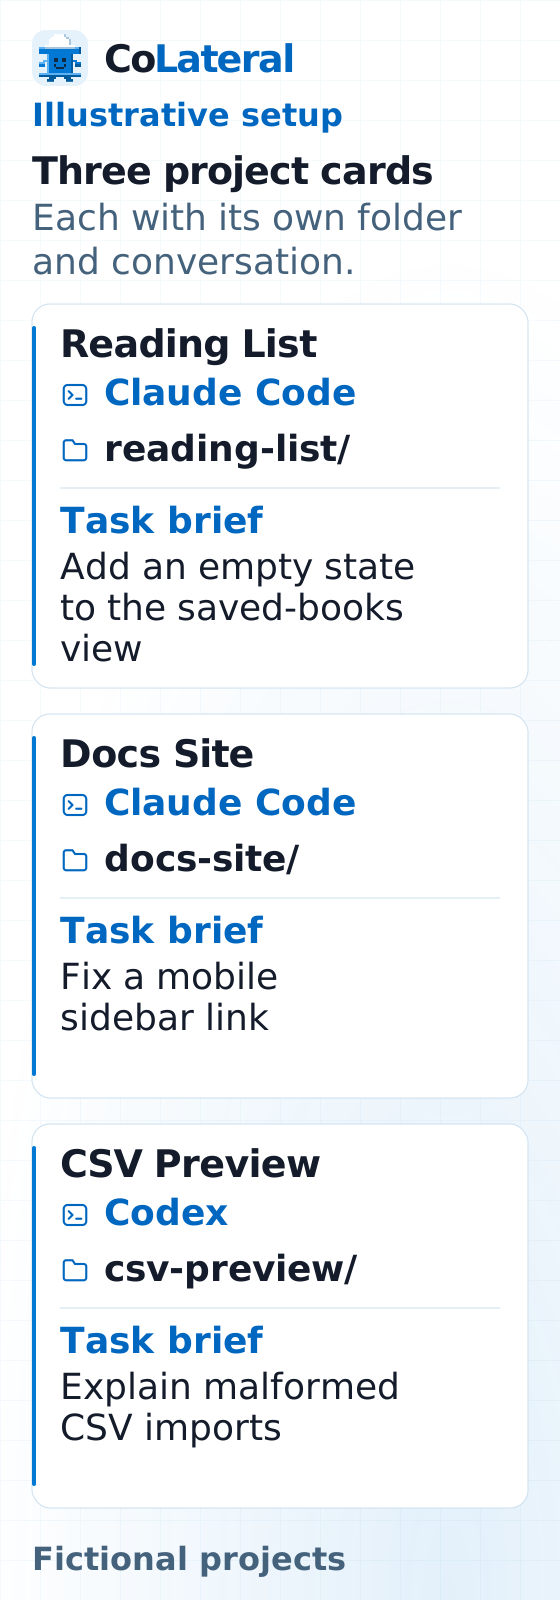
These are separate tasks in separate projects. The two Claude Code cards do not need to share a conversation, and the Codex card does not need to know what the others are doing.
1. Prepare the folders and accounts
Start with three small project folders you can safely experiment with. For local coding-agent sessions, CoLateral needs Node.js on your PATH, the selected provider CLI installed, and a working provider sign-in. Using a provider through an IDE does not by itself confirm that its local CLI is installed and signed in.
This walkthrough assumes your three Git project folders already appear in the card's folder selector. It lists discovered Git checkouts and has no general Browse control. Resolve any missing-folder setup before assigning project work; check the setup answers for CLI installation and sign-in help.
2. Add two Claude Code cards and one Codex card
Choose Agent in the canvas dock, then choose Claude, whose subtitle is Claude Code. Repeat for the second Claude Code card. Add a third card through Agent > ChatGPT, whose subtitle is Codex CLI. If your version offers a Local or Cloud choice, use Local for this workflow. The side-by-side setup guide explains the two provider choices.
Click each card title to rename it Reading List, Docs Site or CSV Preview. Arrange them in that order, with a small note for each project nearby. These are new sessions; this setup does not import your existing IDE conversations. New cards can start their CLI immediately, so check the folder and permissions before sending any project task.
3. Choose the folder, relaunch, and check it
Use each card's folder selector, labelled Folder this agent starts in, to choose the corresponding project folder. Check the permission control before relaunching: terminal sessions default to Bypass permissions, which can allow changes and commands without approval prompts. Choose a mode appropriate for the task.
Changing the folder selection affects the next launch. A running agent keeps its current folder until it is relaunched. Check the folder the running card reports rather than assuming where it is editing.
If the card already started, choose Sleep agent in its More menu, wait until it is Asleep, then choose Wake agent. Do this before assigning tasks, because sleeping can interrupt work. Expand the card if needed to inspect its working-folder information. Confirm the running folder and permission mode before sending the task.
In version 1.0.68, waking starts a fresh CLI with a bounded excerpt of the saved card conversation as context. The readable history on a card is separate from the provider's native conversation, so do not assume an exact session resume after relaunching.
4. Give every card one bounded brief
Send each task to its matching card. For example, the Reading List brief could be:
Give Docs Site the sidebar task and CSV Preview the import-error task. Ask each for the same kind of handoff: what changed, what was checked and what still needs attention.
The local bridge supports separate sessions running concurrently. Your resource settings, available memory and provider limits determine whether all three can run at once. You can use the same layout while working through the cards in turn.
5. Leave yourself a next action
Check the visible status on each card. Labels such as Working, Waiting for input, Waiting for approval and Finished help you decide where to look next. Reconnecting or Outcome unconfirmed means you should check what actually happened before sending the task again. A status label is not a quality check of the output.
Use each nearby note for a short instruction to your future self. For example:
- Reading List: Next, inspect the empty state with no saved books.
- Docs Site: Next, test the sidebar link at a narrow viewport width.
- CSV Preview: Next, try a malformed CSV file and read the error.
These are example review steps, not evidence that an agent completed the tasks. Update the note after checking the actual output. If the agent is waiting for a decision, write the decision you need to make instead.
When you move to another project's card on this canvas, read its note, check its current state and folder, then continue in that conversation. You have a small starting point instead of having to reconstruct the task from the beginning.
What changes in the daily workflow?
The comparison below describes an intended working pattern, not measured time savings.
| At a project switch | With work scattered across windows | With this canvas layout |
|---|---|---|
| Find the right conversation | Search IDE windows and terminal tabs. | Go to the project's card in its usual place. |
| Check the working copy | Establish which repository and branch the session uses. | Read the card's current working-folder information. |
| Decide what to do next | Reconstruct the task from conversation history. | Start with the nearby next-action note. |
| Accept an agent's changes | Open the output and verify it. | Open the output and verify it, using the same review standard. |
For Reading List, that might mean inspecting the empty state in a browser. For Docs Site, it means checking the actual link on a narrow screen. For CSV Preview, it means importing malformed data and confirming that the error helps you fix it. A completion message is the start of that review.
What this setup does not guarantee
The canvas gives the work a visible structure. It does not make three agents an automatically coordinated team. Keep shared dependencies explicit and decide how changes should be combined if projects depend on each other.
A folder choice is also not a security boundary. Agent access depends on the provider's permissions and execution setup. A locally running CLI can send prompts and project content to its model provider. Separate cards do not make that inference private or local.
Saving the canvas and reopening a conversation are separate from keeping an agent process alive. Provider resume support also differs. On return, check the current state and actual output before assuming a task resumed or finished. The first-project guide shows how to check a save and reopen.
The workspace licence does not include AI usage. CoLateral supplies no model credits, and opening a second Claude Code card does not increase your provider allowance.
Try the layout with a small project
If you already have CoLateral installed, start with one invented project and one card. Check the selected folder, permission mode, conversation and output. Add the second Claude Code card and the Codex card when the first workflow is clear.
If you are considering CoLateral, review current pricing, then check installer availability and system requirements before purchasing. Confirm delivery for your platform with support if its installer is unavailable. Your provider's charges and limits apply separately from the workspace licence.
Already purchased? Use the private Download button in your licence email and follow the access instructions on the download page.